Magnetic Paint How-To
I effed around and found out. Here’s what I learned.
How I used magnetic paint to enhance my studio visit experience for curators.
One day I woke up and decided I was done taping an tacking pictures to the wall for studio visits. I was killing myself arranging, taping, untaping, removing, repairing the wall after so I could shoot on it. Not only was it tough on my back and neck, the process itself was exhausting. I was sick and tired and I wasn’t gonna do it anymore.
After about two weeks of swatch experiments with paint and and iron flakes (yep - iron flakes), I can now tack up pictures without pins or tape.
It seemed like an easy idea, but don't they all?
Here’s what I came up with.
While i was hanging upside down on my exercise bar, I decided magnetic paint was the answer. It just came to me. So clearly I need to hang upside down more.
This took about two weeks including waiting for Amazon packages and running to Home Depot.
The project ran me around $300.00.

Swatch.

Testing it with a darkroom print.
Tested the return part of the wall first. It has the most magnetism on it at this point at four coats.

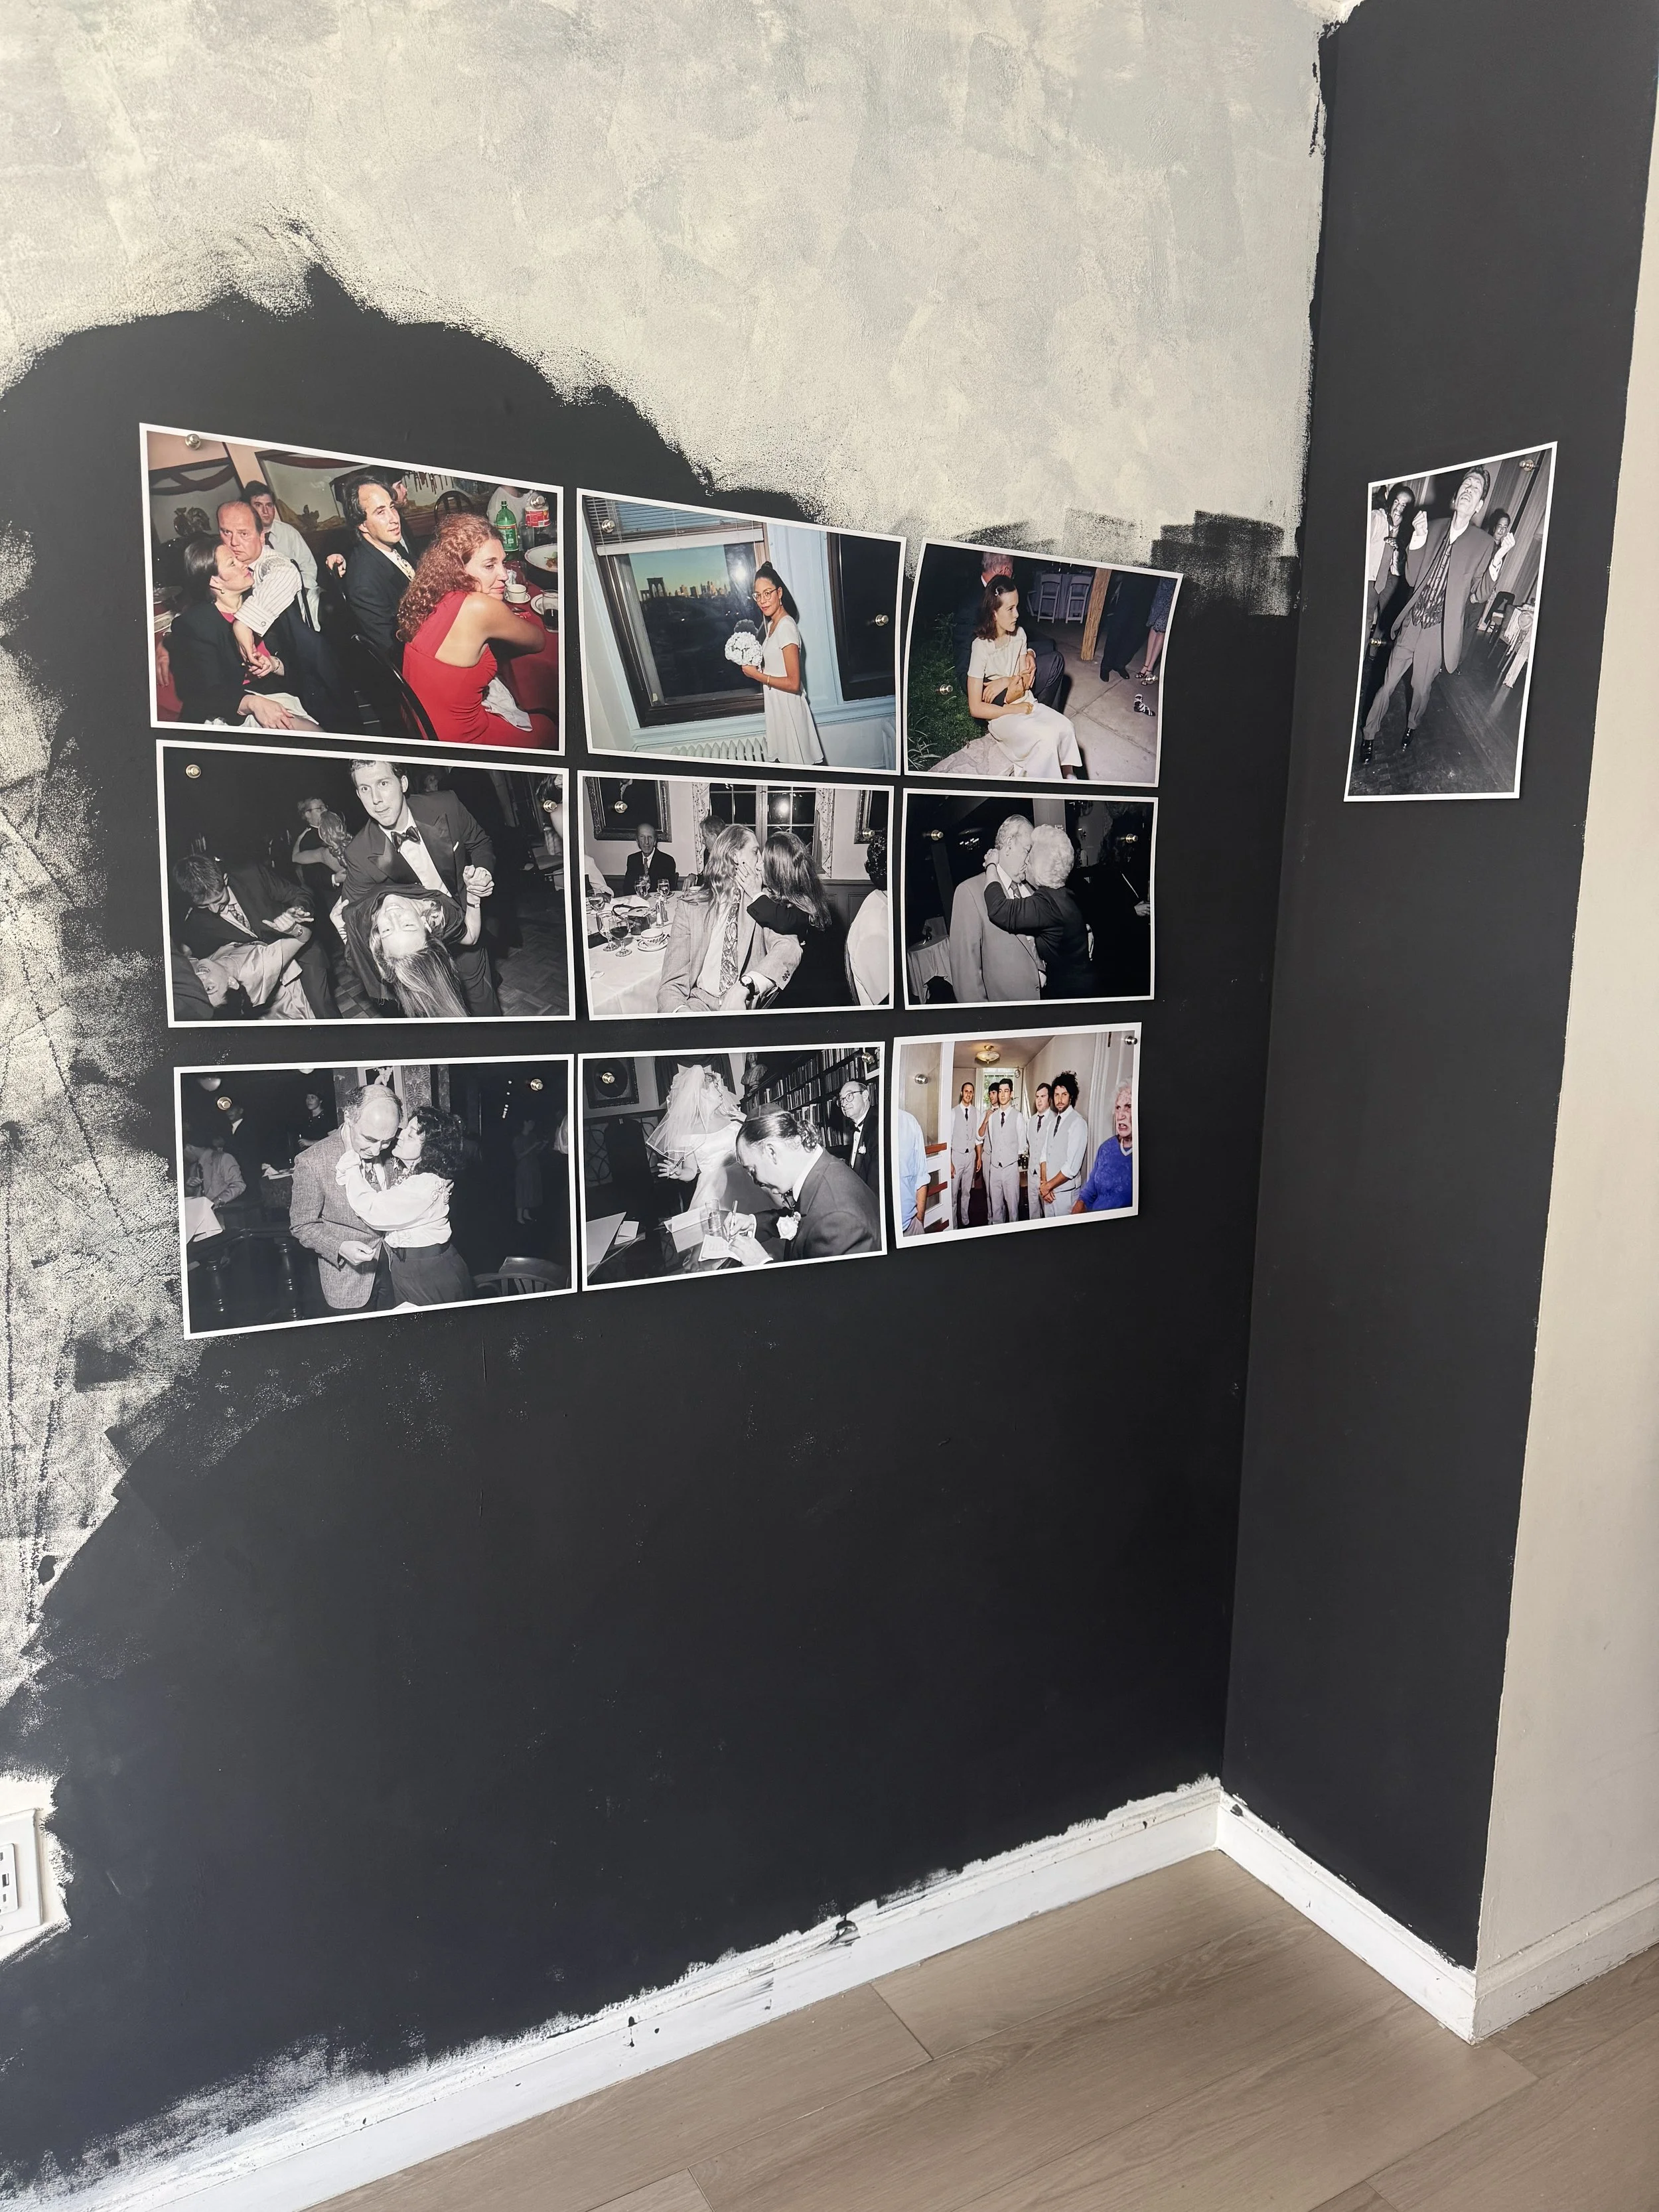
Sequencing.
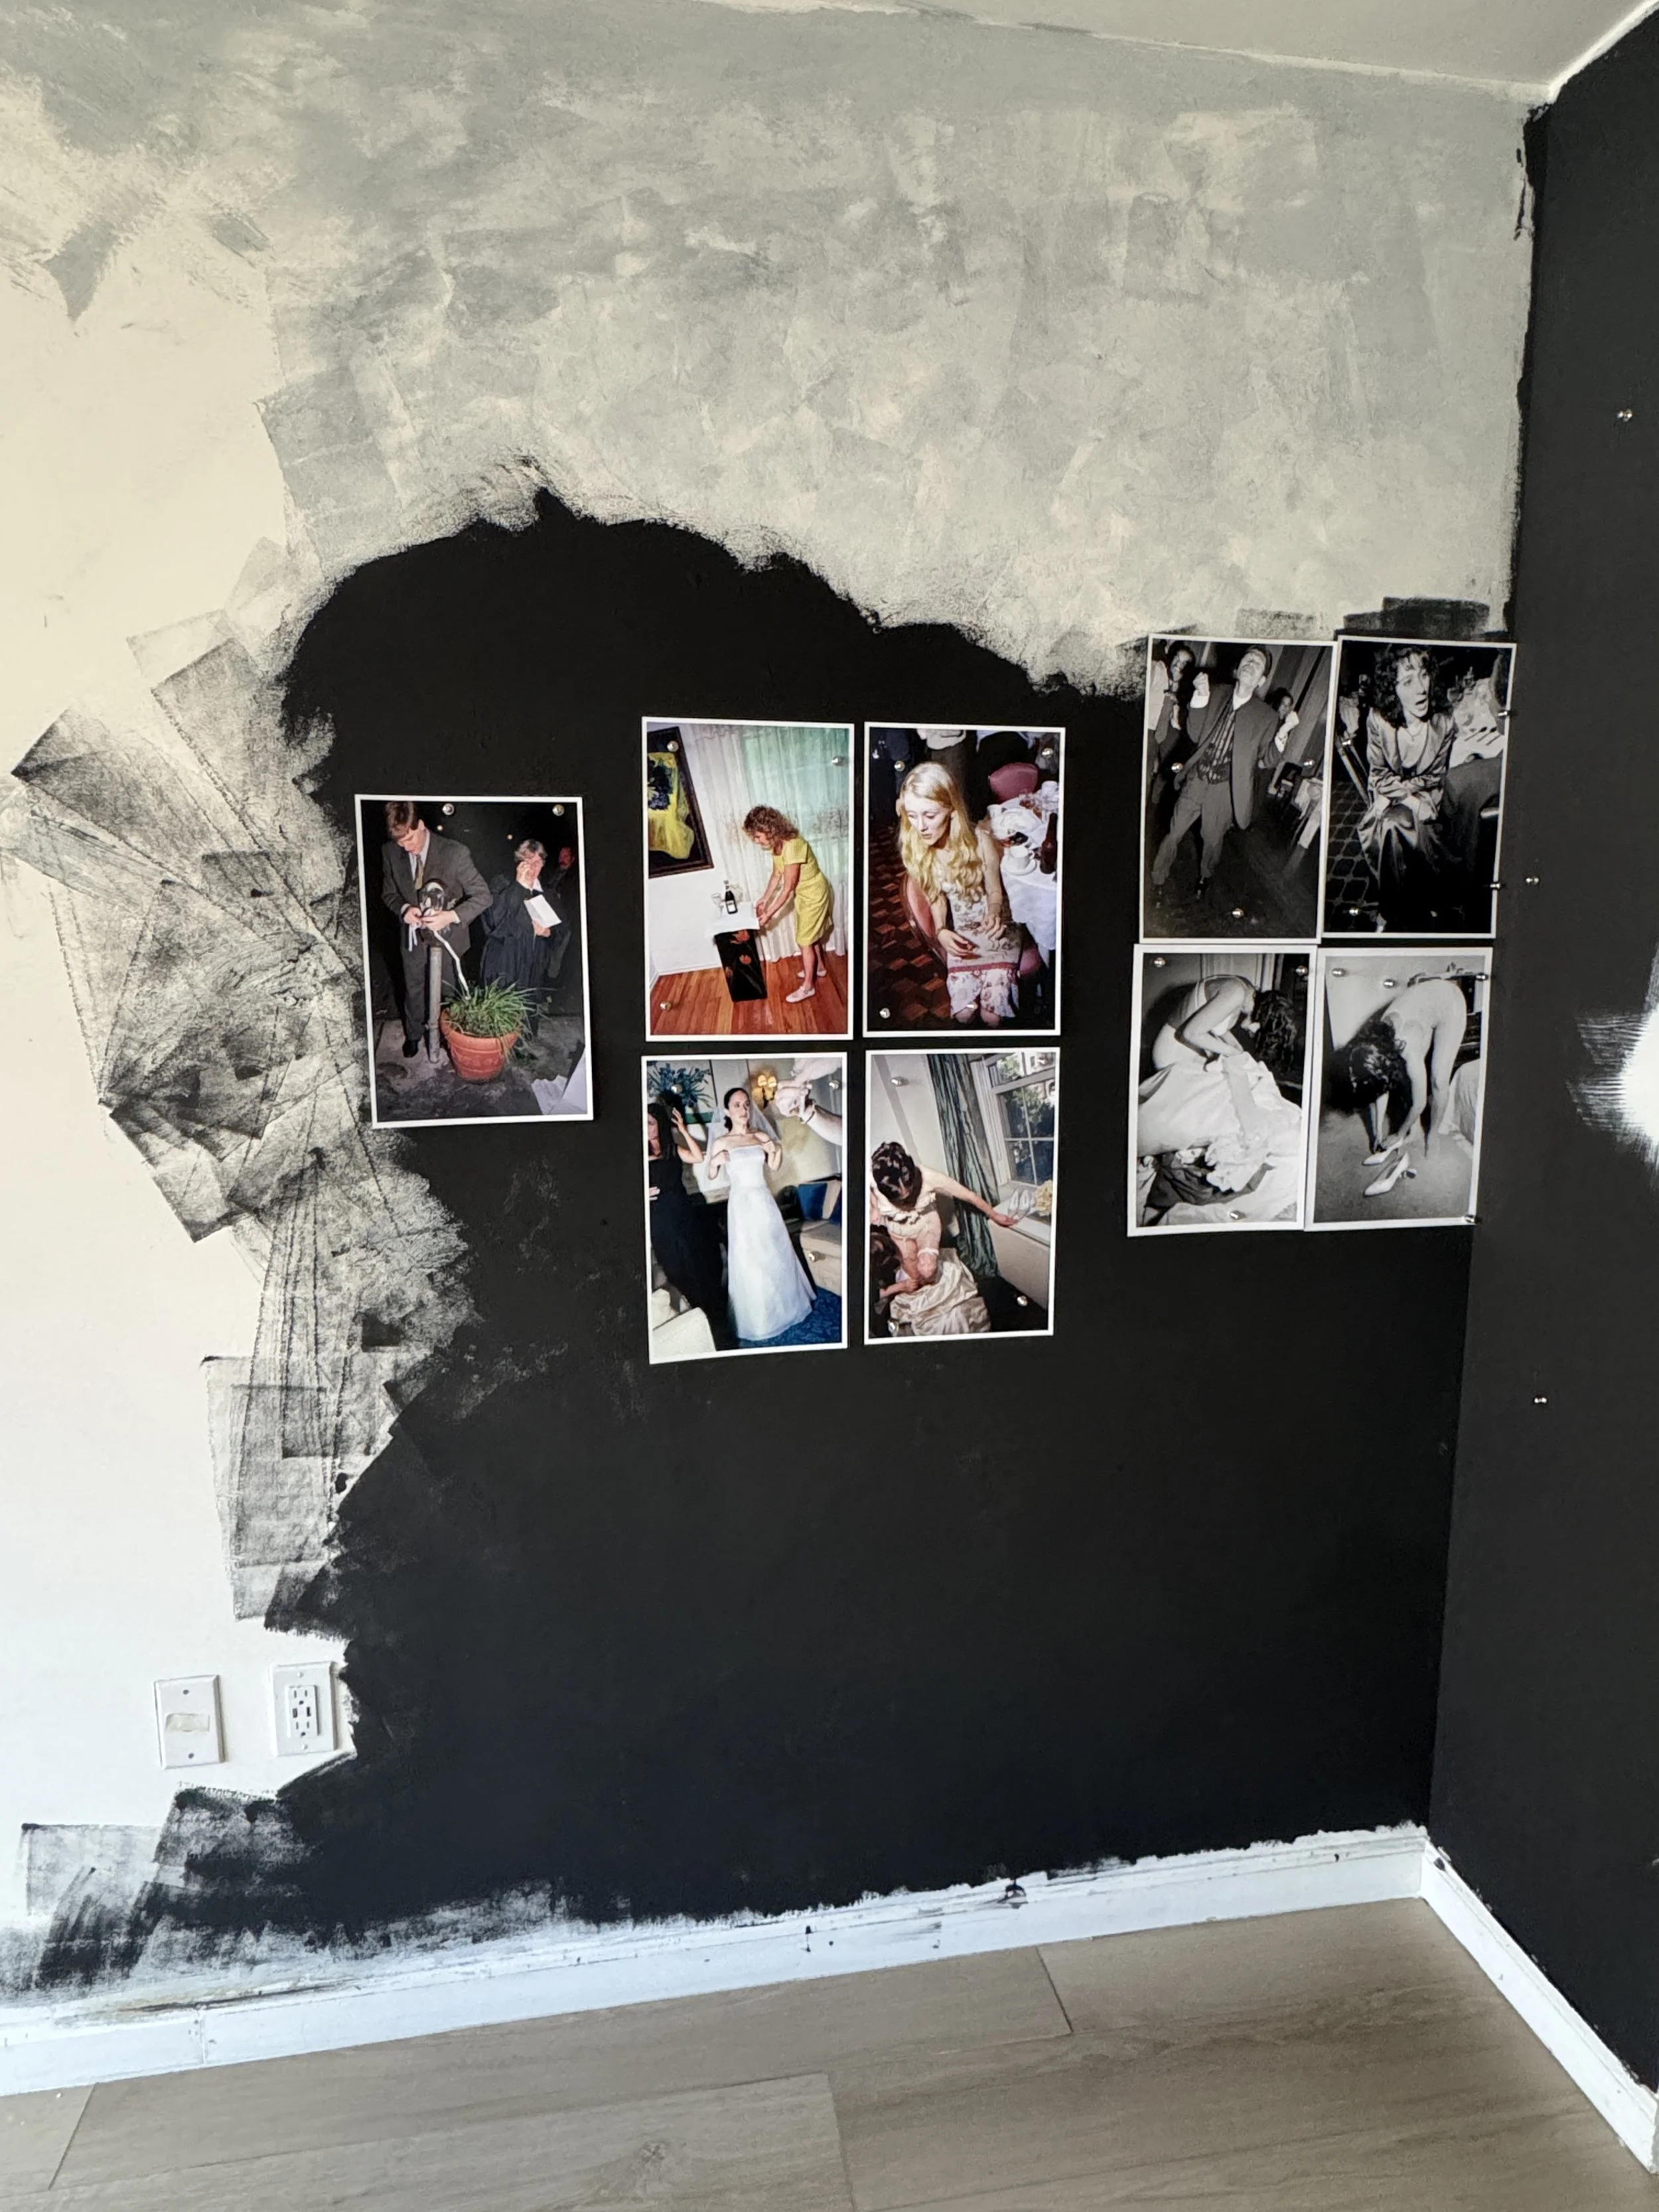
Swatched wall at three coats, I needed more magnets to hold work up. I knew then I’d need more coats.

Four coats.
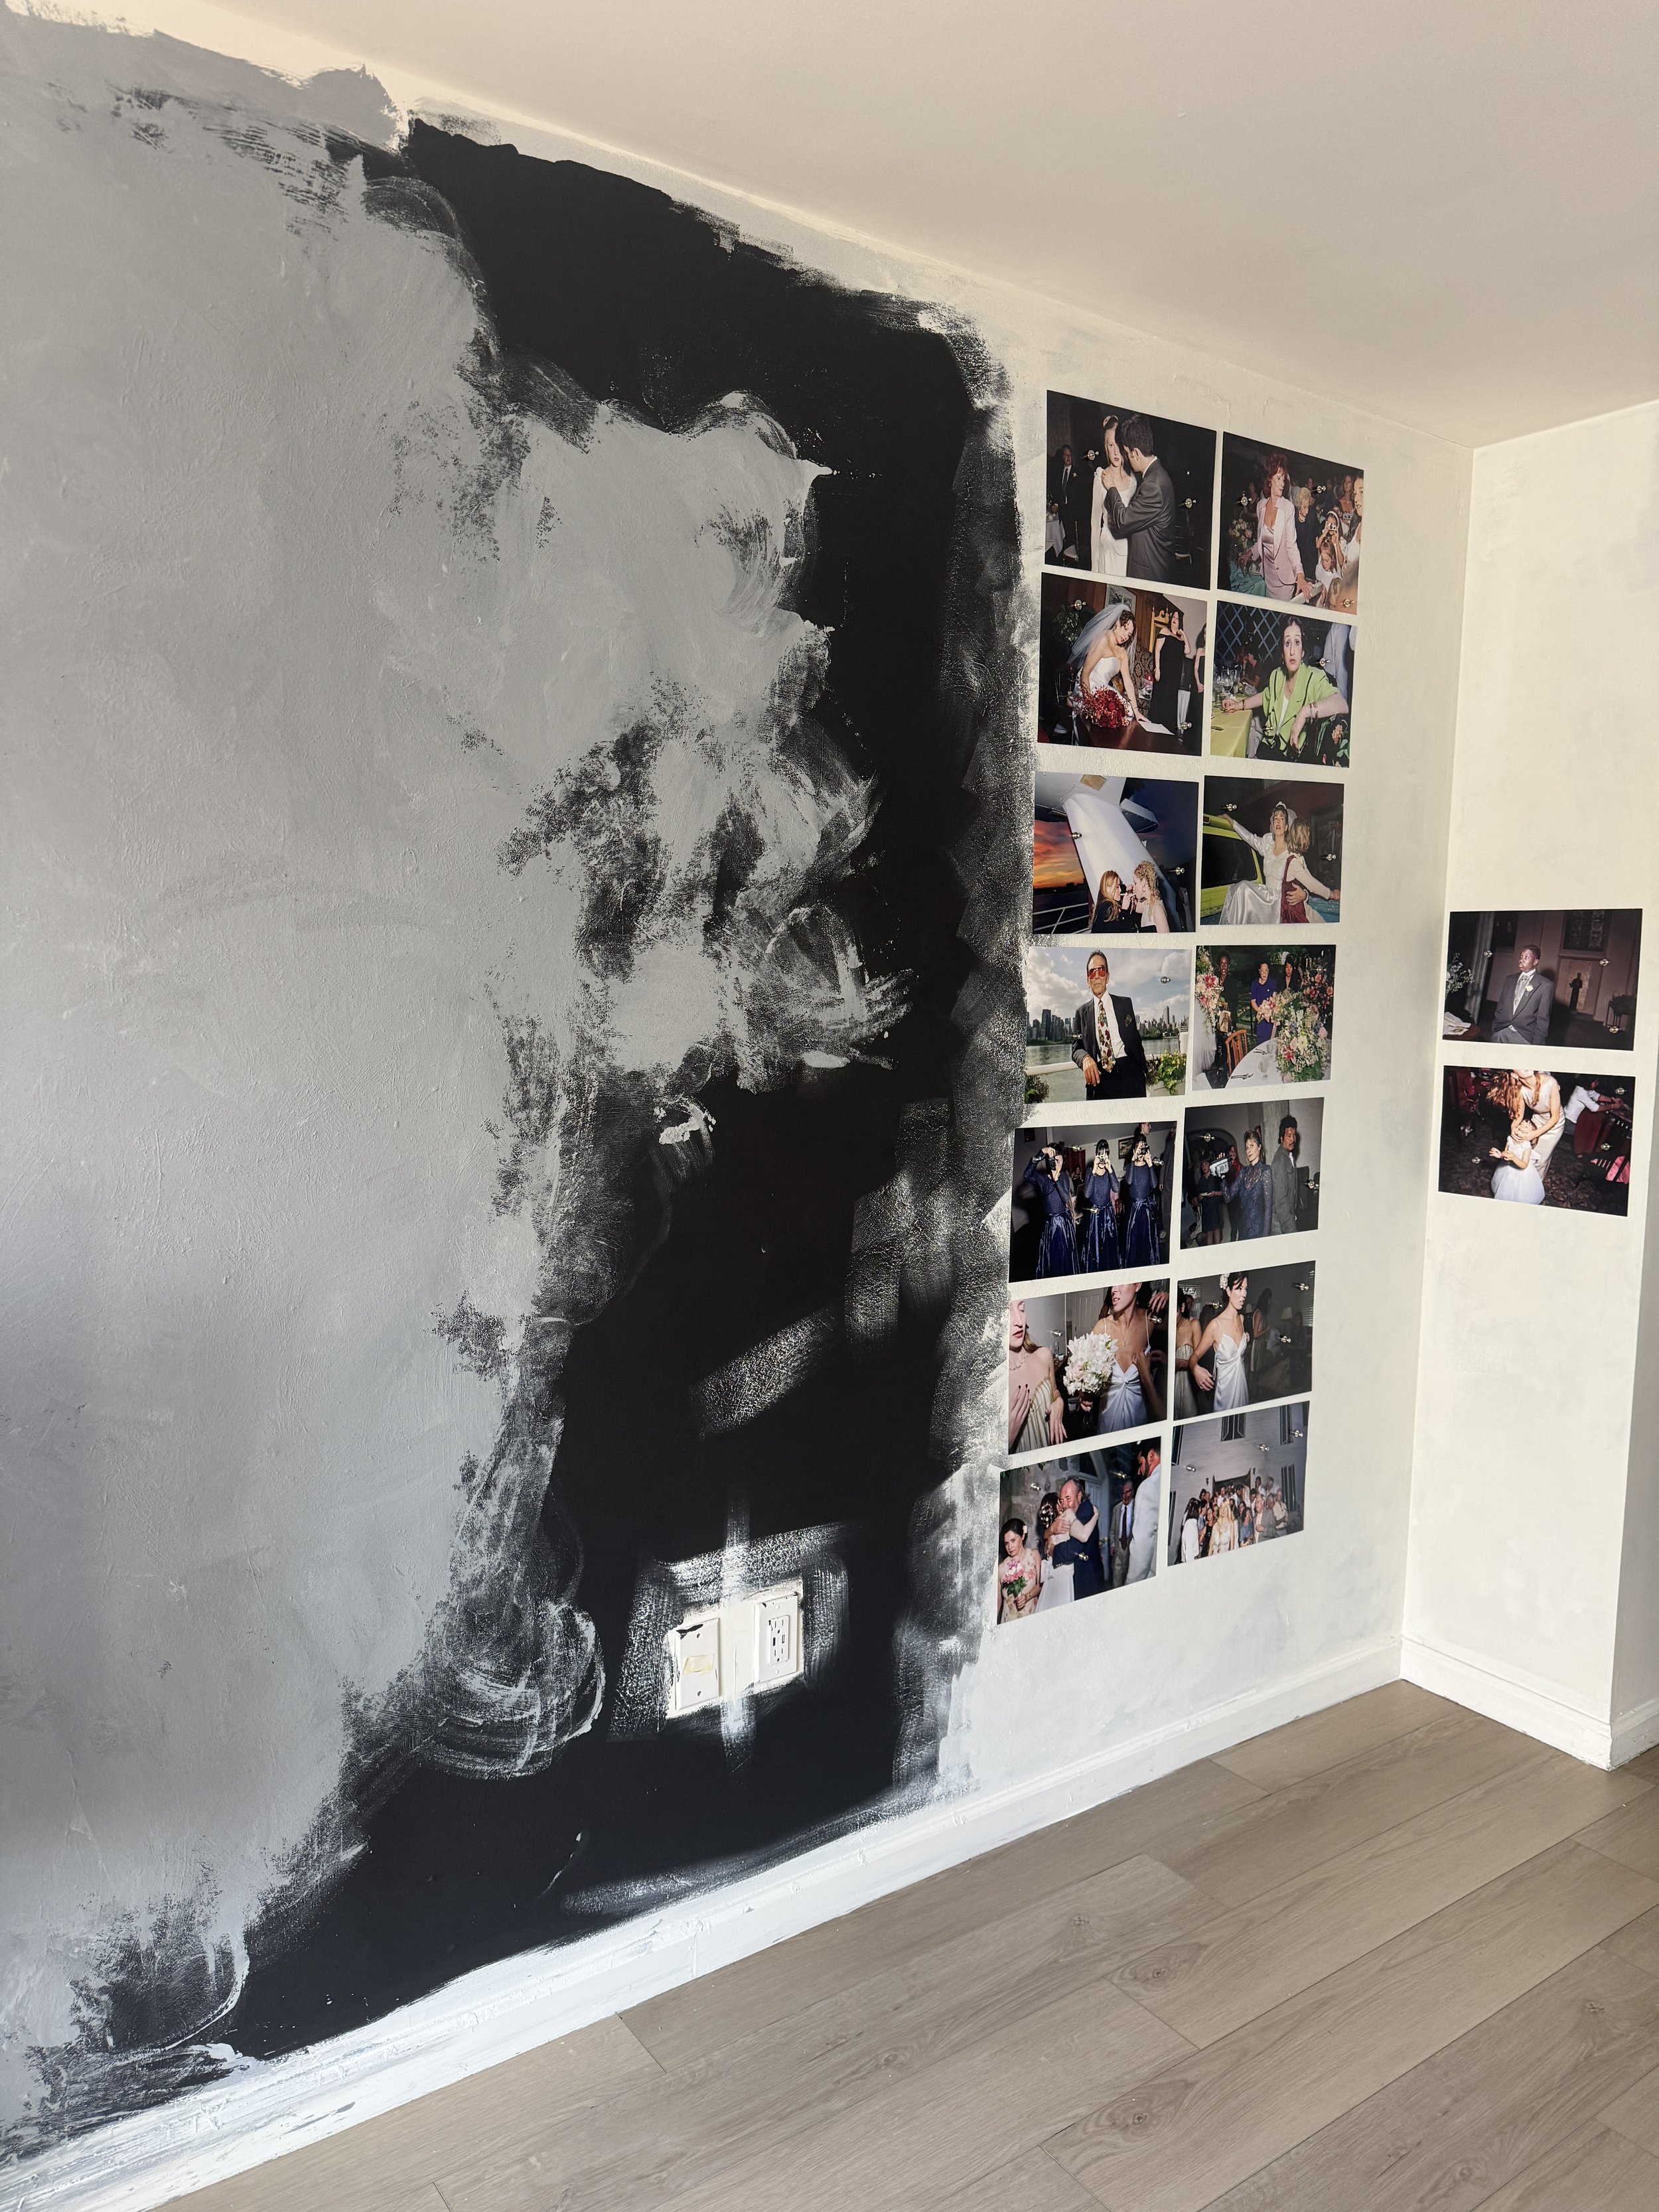
Adding paint flakes to different types of paint. Testing magnets.

Full installation.
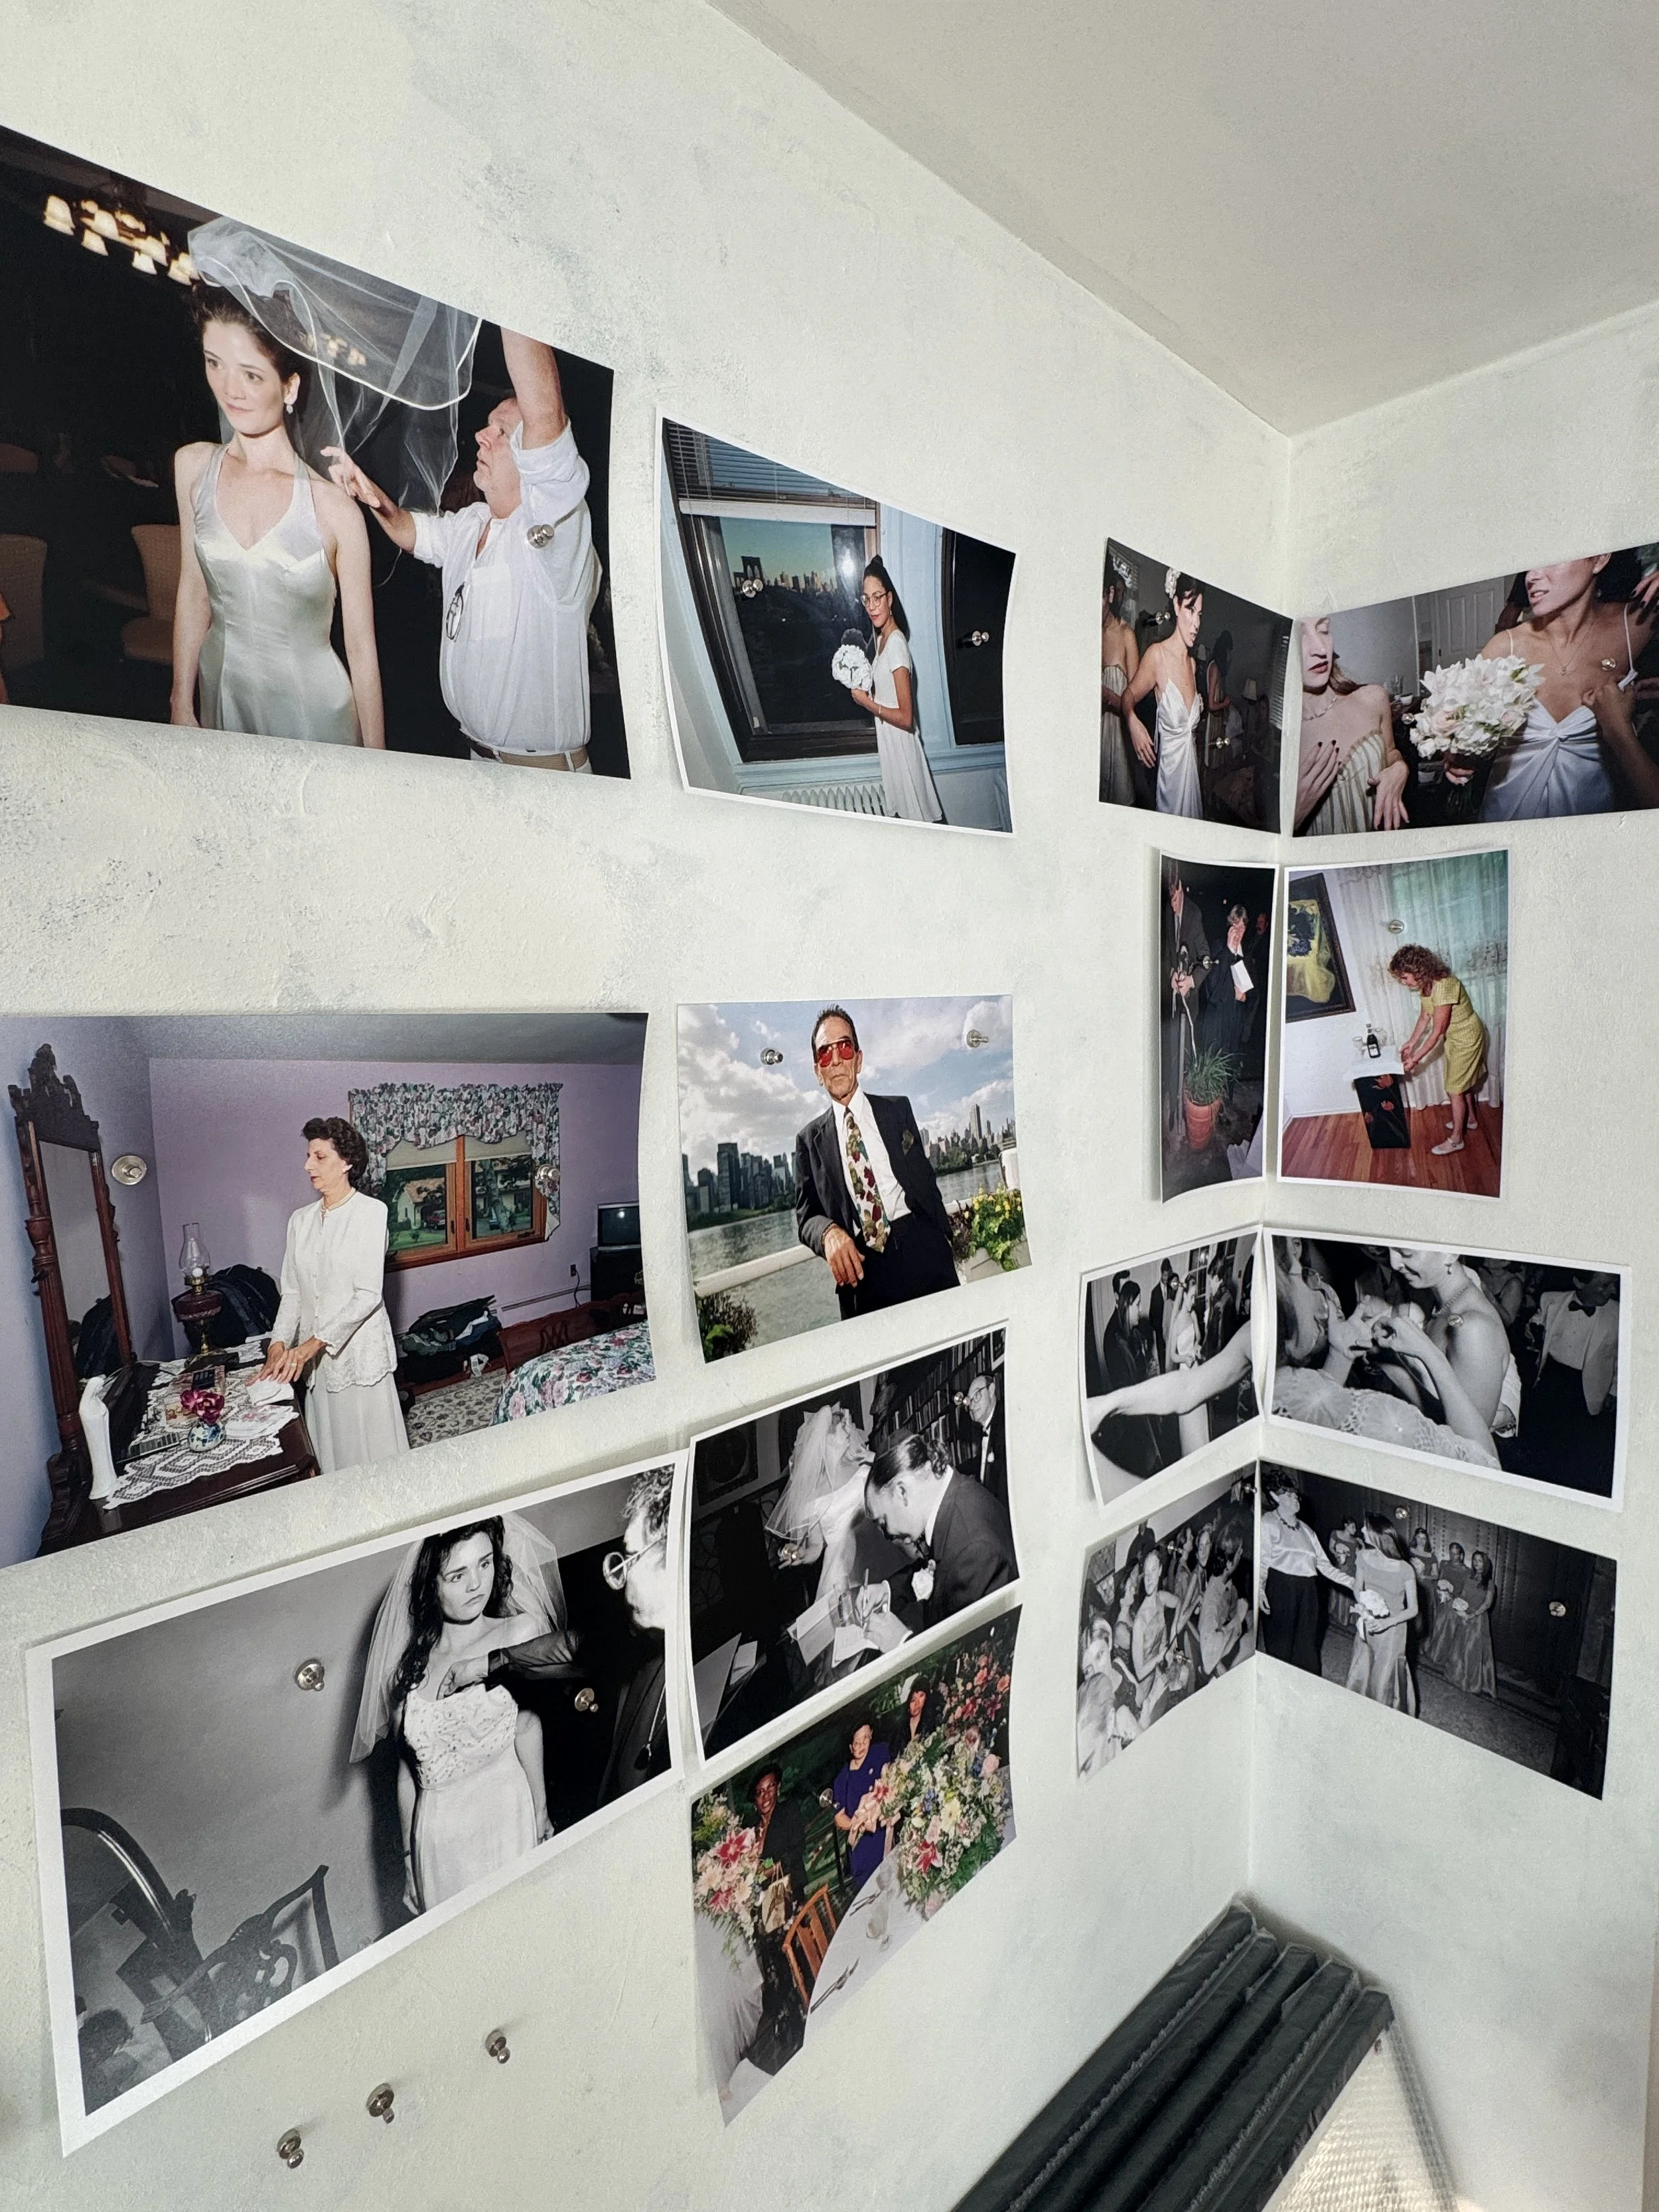
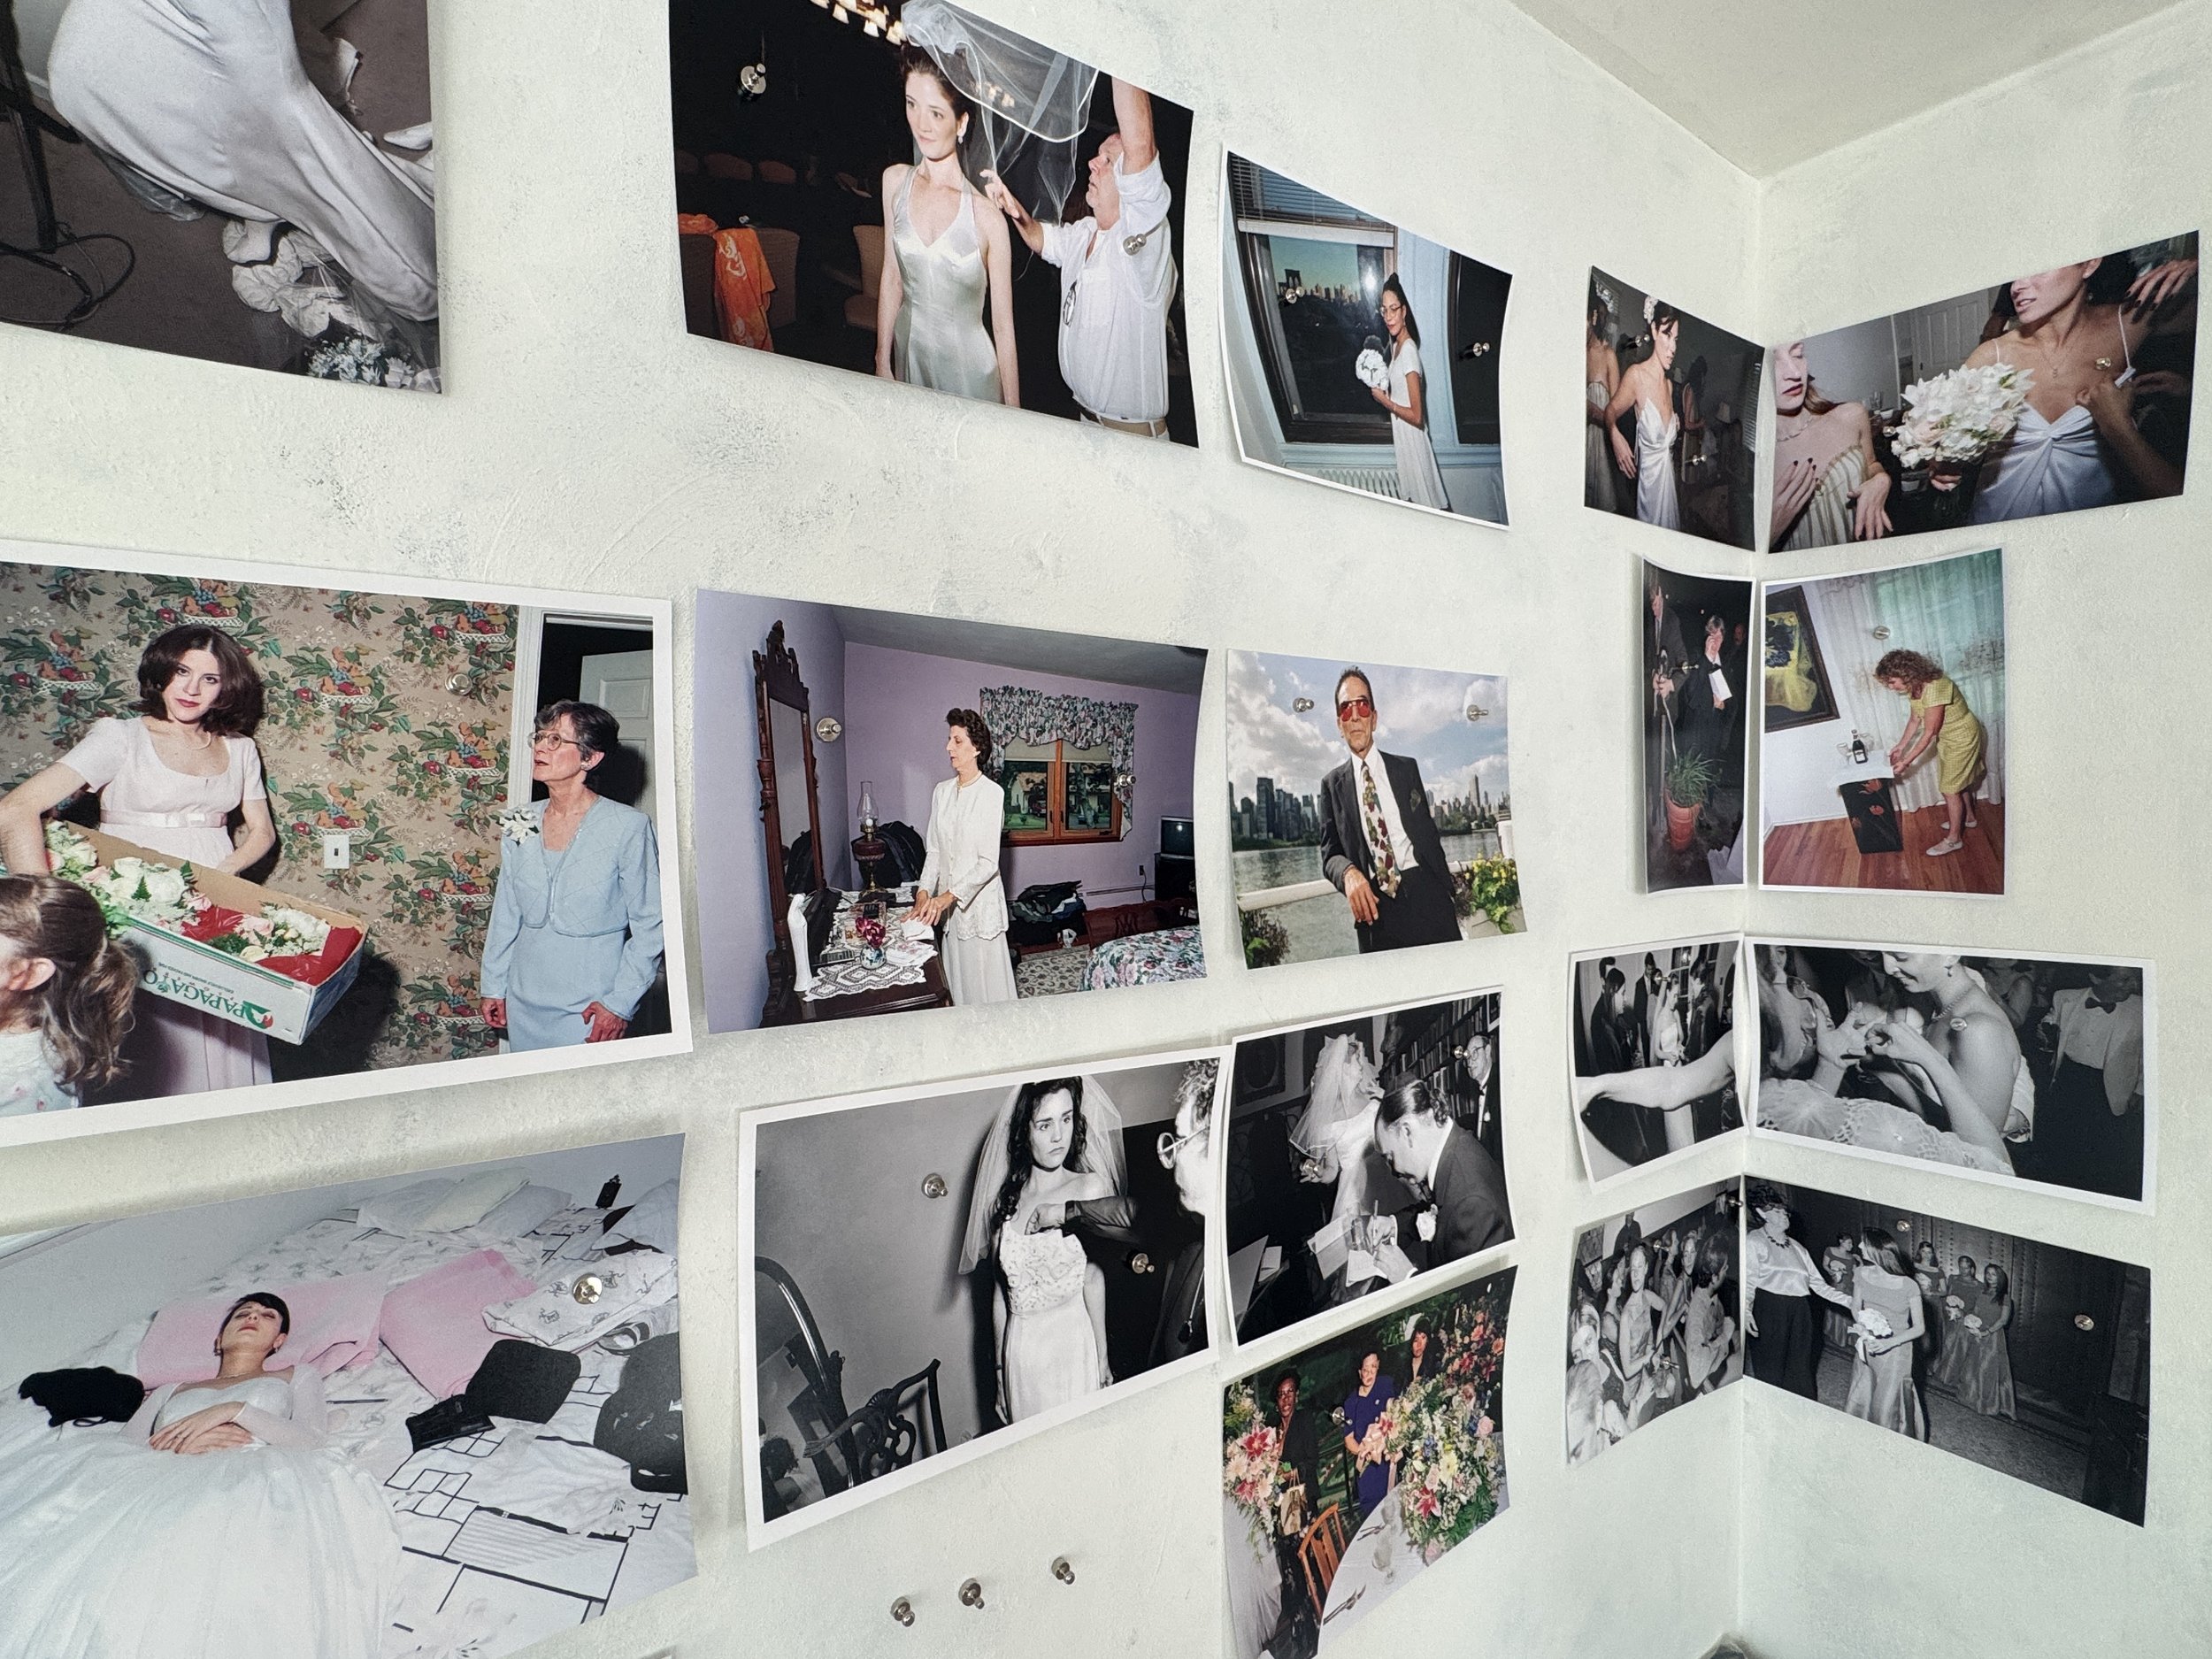
I added magnetic paint to the corner so I could hang my work so it looks like a book fold.